After a long break, I’m back ;-)
Let’s talk about WebDAV — what it is and how to set it up on Android.
WebDAV stands for “Web Distributed Authoring and Versioning.”
It uses the HTTP protocol and is essentially an extension of HTTP that adds file management capabilities — create, move, copy, delete files on a remote server. In simple terms, it’s a file server you access through a URL.
WebDAV lets you browse directories from a web browser or WebDAV client and edit documents directly on the server. Most modern desktop file managers (Windows Explorer, macOS Finder, Nautilus on Linux) support WebDAV natively.
Setting it up on Android:
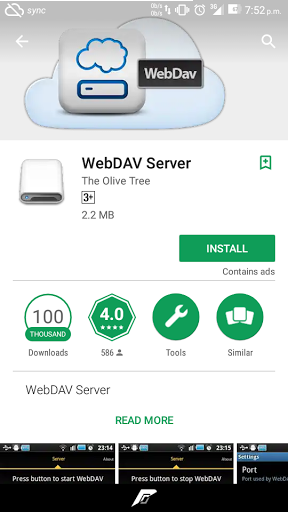
Download the WebDAV Server app by Olive Tree. There’s also a pro version available here (zip password: CYBERHUNK) — consider buying the pro version to support the developer.
Configuration is straightforward:
- Choose a port number.
- Set Network Interface to
loopbackfor local access only. - Enable authentication if you want password protection.
- Enable or disable anonymous logins as needed.
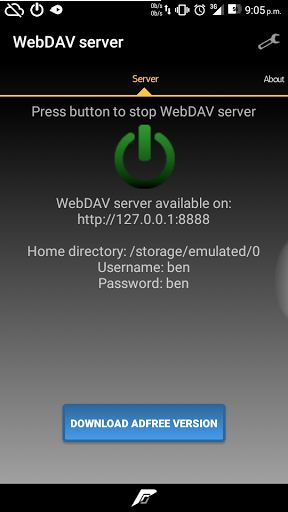
Start the server and connect via a browser or WebDAV client:
http://localhost:PORT
For a command-line WebDAV client, cadaver is a solid choice. I’m planning a tutorial on it soon.
Video Tutorial — WebDAV series (part 1): https://youtu.be/hatESb2DrLQ
Part 2: https://youtu.be/KHdZEiVagto